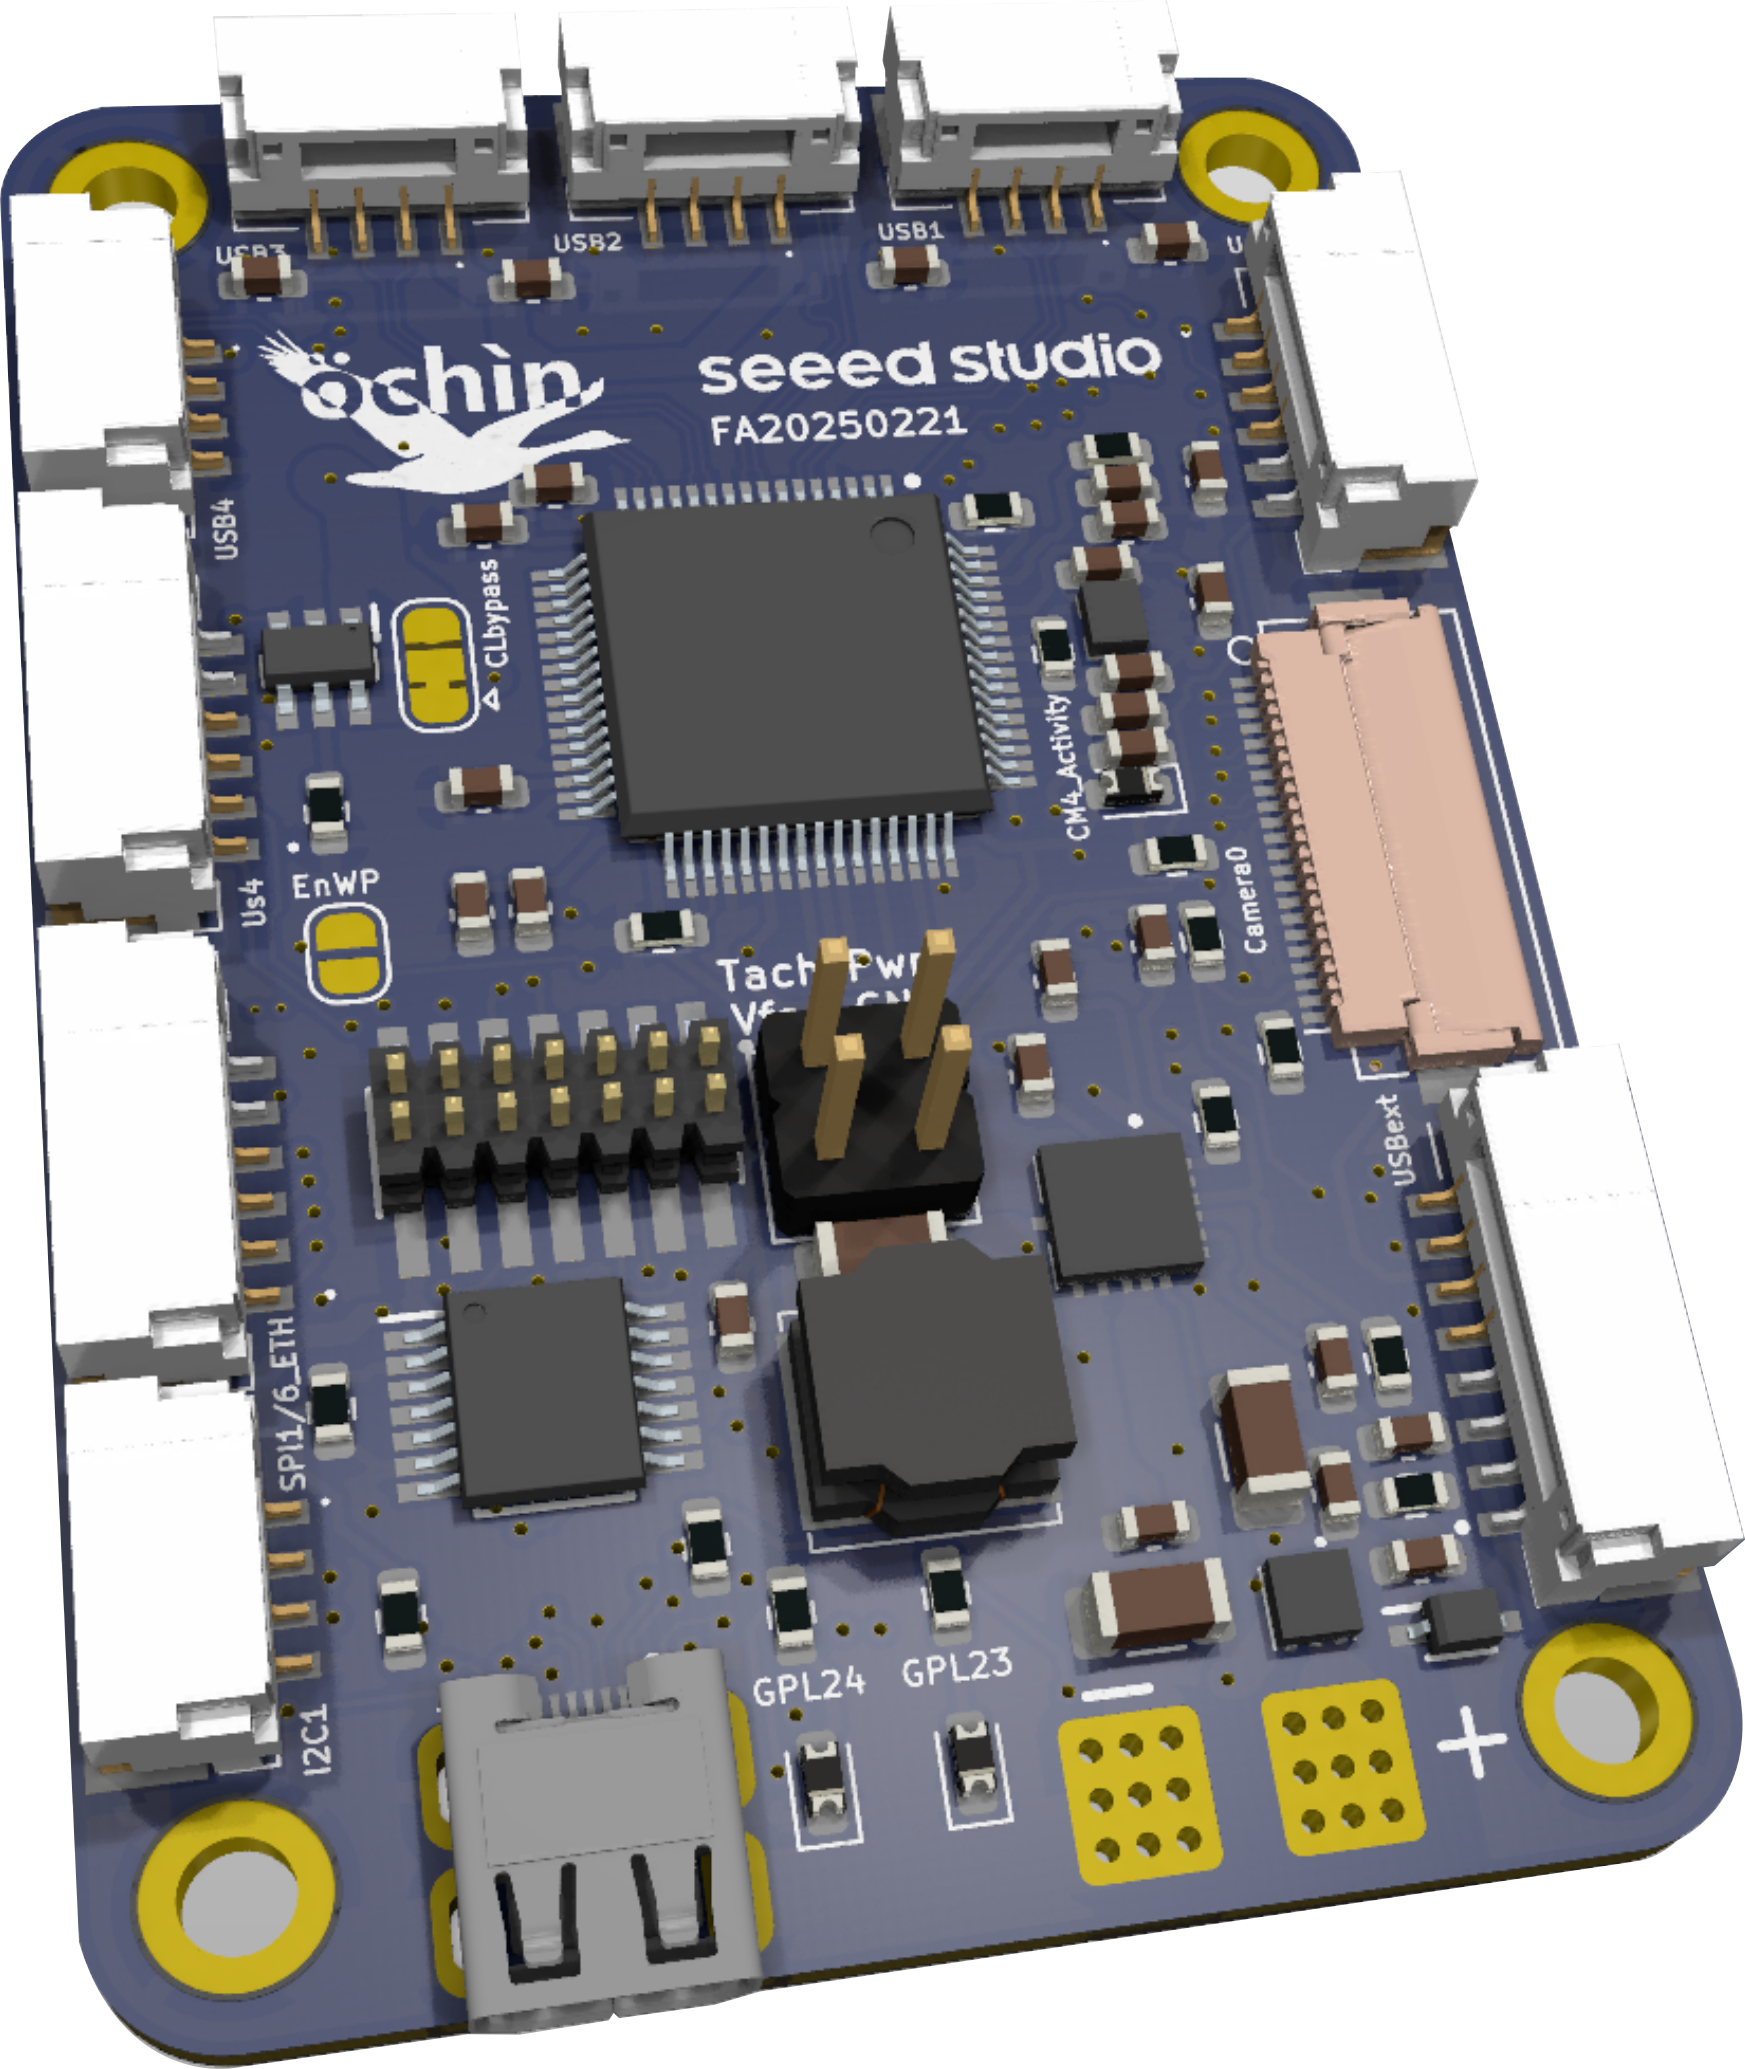
Minimal footprint. Maximum reliability.

Only 55×40 mm, yet packed with essential interfaces and rugged enough for real-world deployment. Perfect for constrained spaces where reliability and performance matter.
See more
Built for real-world deployment — from drones to automation — ochin_CM4v2 delivers reliability, flexibility, and performance where it truly counts

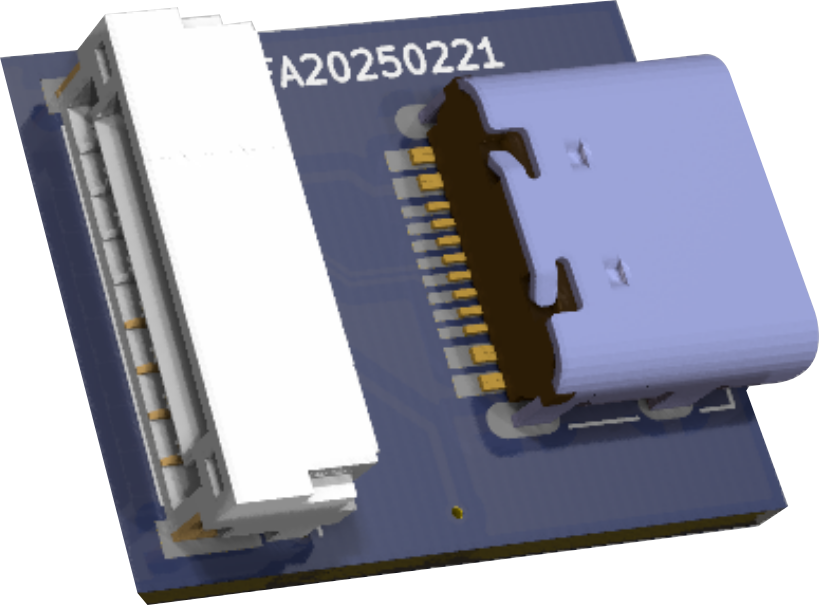
USB, GPIO, CSI, Ethernet, eMMC, microSD – everything you need, nothing you don’t.
Ready for sensors, cameras, radios, actuators and more.
Wide voltage input, fan control, RGB LED, GPIO LEDs, button, power monitoring, and USB protection — compact features, mission-ready reliability.
ochin_CM4v2 is shaped by real-world feedback from makers, engineers, and embedded developers worldwide.


ochin_CM4v2 is battle-tested in OpenHD setups — a digital FPV system developed for the open-source community.

Improvements and refinements come directly from community use cases — from autonomous drones to robotics platforms.
Users contribute guides, mods, and troubleshooting tips — creating a growing knowledge base that benefits everyone.

Users contribute guides, mods, and troubleshooting tips — creating a growing knowledge base that benefits everyone.
This board is fabricated and available on Seeed Studio markeplace.
Purchasing one directly supports continued development and future updates.

👉 Buy from
All profits are reinvested in the project: development, documentation, support.
No fuss, no guessing — just follow the essentials and get started with confidence.